Move to a empty area (empty hole or brocken square)
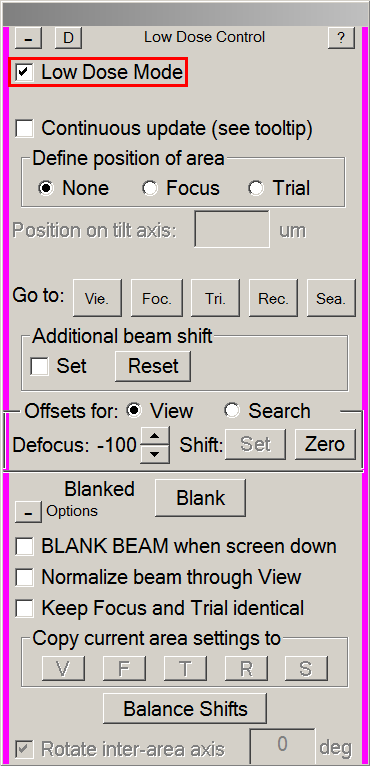
In the Low Dose Control panel, tick Continuous Update.
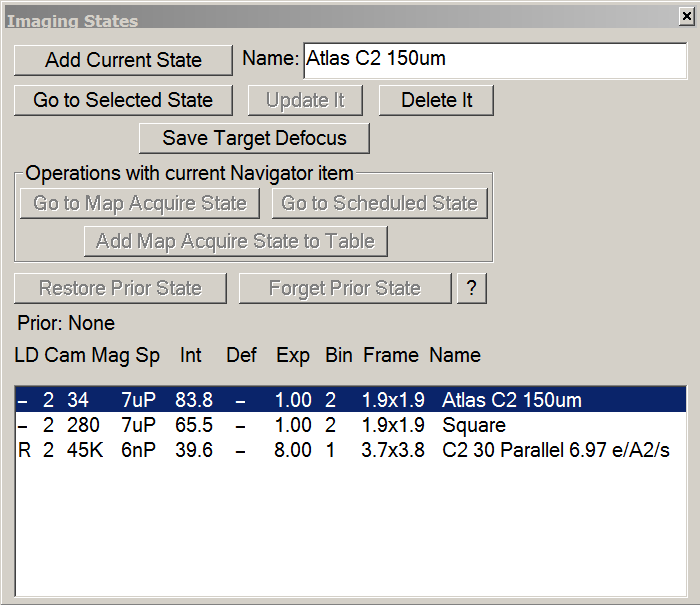
Switch to record beam with the Rec. button.
On the console, press the Eucentric Focus button.
Lower the fluorescent screen.
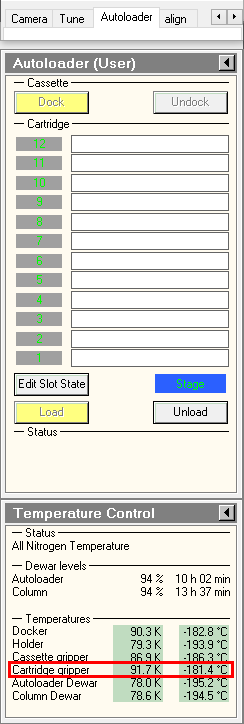
In TEM User Interface > Tune or Autoloader tab > Direct Alignments panel: press on beam shift.
With multifunction X & Y knobs, center the beam on the fluorescent screen, then press Done.
Switch to View beam with the Vie. button. Tick Set in Additional beam shift. View beam only need to be centered once.
With the trackball, center the view beam on the fluorescent screen. Untick the Set button.
Center the Record beam again as described above.
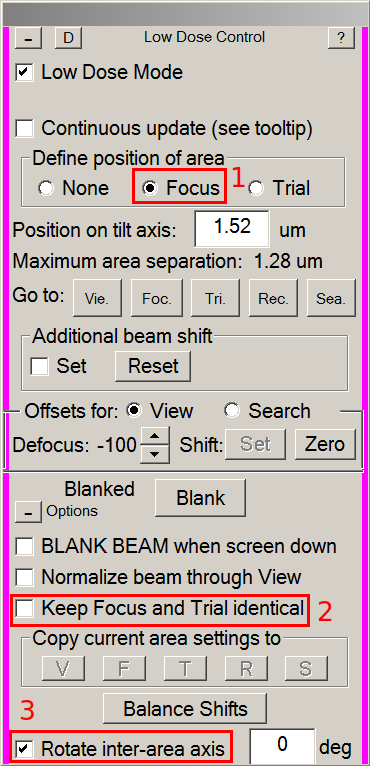
Switch to Focus beam (Foc. button) and change its diameter with the intensity knob according with the desired focus surface (depends on your hole spacing).
Center focus beam as explained for the view beam (with Set ticked and trackball).
Switch to Trial beam (Tri. button) and change its diameter with the intensity. Trial beam will be used for auto-centering and its diameter should fit in the camera field (green square) on the fluorescent screen.
Repeat Record (Beam Shift + M X/Y), Focus and Trial (Set ticked + Trackball) centering until all beams stay centered.
Untick Continuous update on the Low Dose Control panel.

 .
.