This is an old revision of the document!
Table of Contents
The Screening Pipeline
1. Load Grid
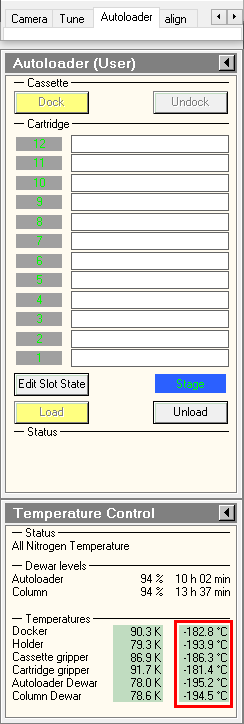
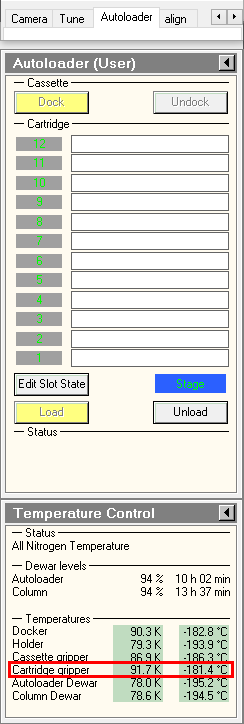
- Load the cassette in the NanoCab. Make sure no contaminant (fiber, hair) entered the NanoCab.
1.Make sure Microscope is in good shape (ppt associated)
- a.Make sure HT and FEG are on
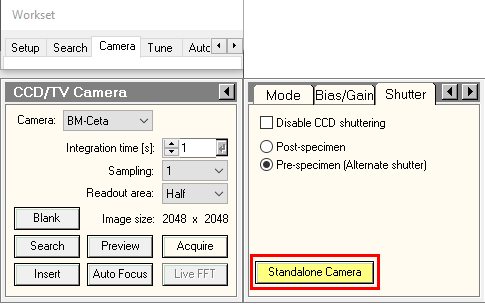
* Under « setup » tab, « high tension » and « operate » are highlighted yellow b. Make sure that column valves are closed and turbo pump is on i. Under « setup » tab, « col. Valves closed » and « Turbo on » are highlighted yellow c. Make sure that EM column vaccum is stable (IGP1 -6) d. Make sure that Stage neutral i. Under « Search » tab 1. click « X,Y » button to zero out the X, Y to center the stage 2. If necessary Click « AB » button to zero out coordinates of the stage e. Make sure cold trap already with LN2, refill every 3-4 hours
2. Load grid in holder a. Place holder in stand with spring holder up b. Lift (open) spring holder using metal pin c. Center specimen grid in holder socket d. d. Close spring holder using metal pin
2. Setup Serial-EM

 .
.3. Record Atlases


4. Select and Load a Grid
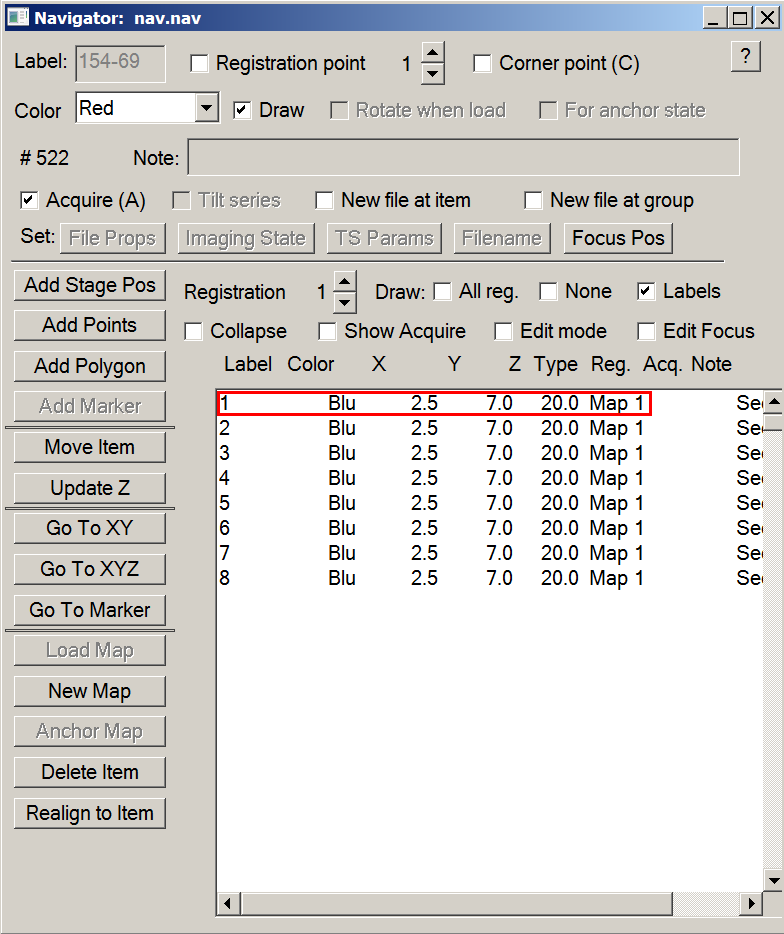

5. Record square maps
- Open the column valves.


6. Prepare Serial-EM for screening
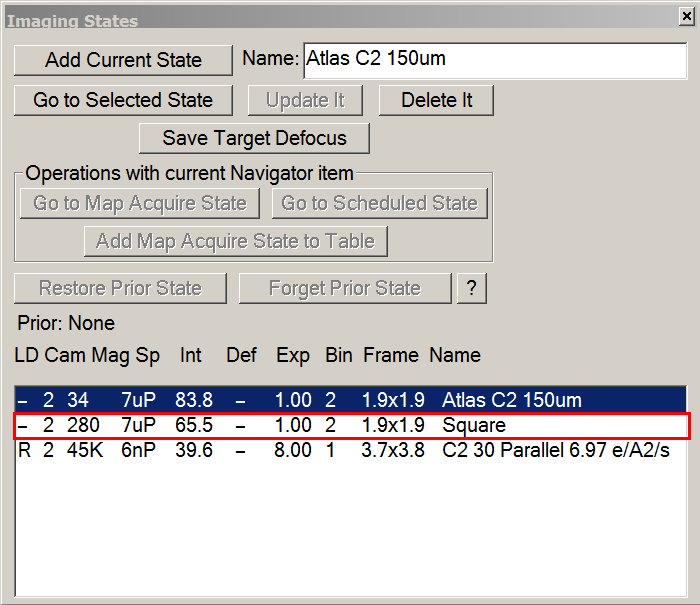
- Correct for coordinate discrepancy between View and Record Magnifications.
- In an empty hole or a broken square: Menu > Scripts > run > DatasetDefineVacuumIntensity
- measure the dose rate and set up record parameters.


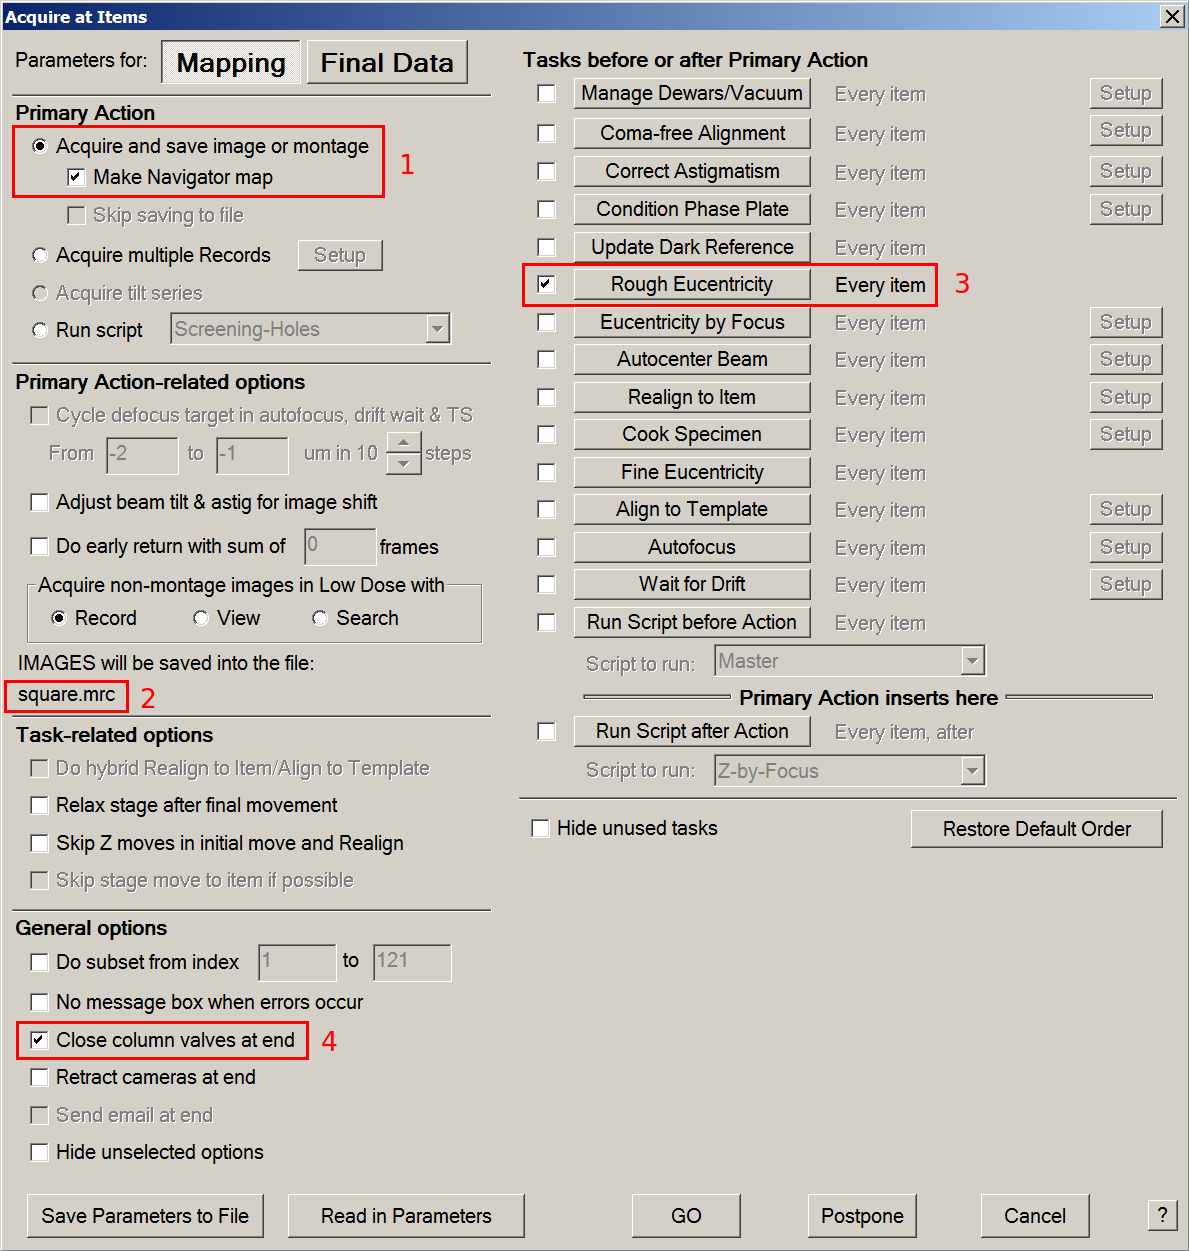
7. Start screening and analyze the results
- Manually screen your targets or run the script Screening Holes
8. Load the next grid
- Double-click on the desired grid in the TUI
- Go back to step 4
9. End your screening session
- Save your Navigator
- Close your Navigator
- Load the Cross Grating Grid in the column (usually in position 1 of the cassette)
- Remove the cassette with your grids from the autoloader in the NanoCab
- Remove the cassette and your grids from the NanoCab